Showing posts with label Info. Show all posts

Tuesday, 18 March 2014

Differences between Windows 8.1, Windows 8.1 Pro, and Windows 8.1 Enterprise

Filled under:

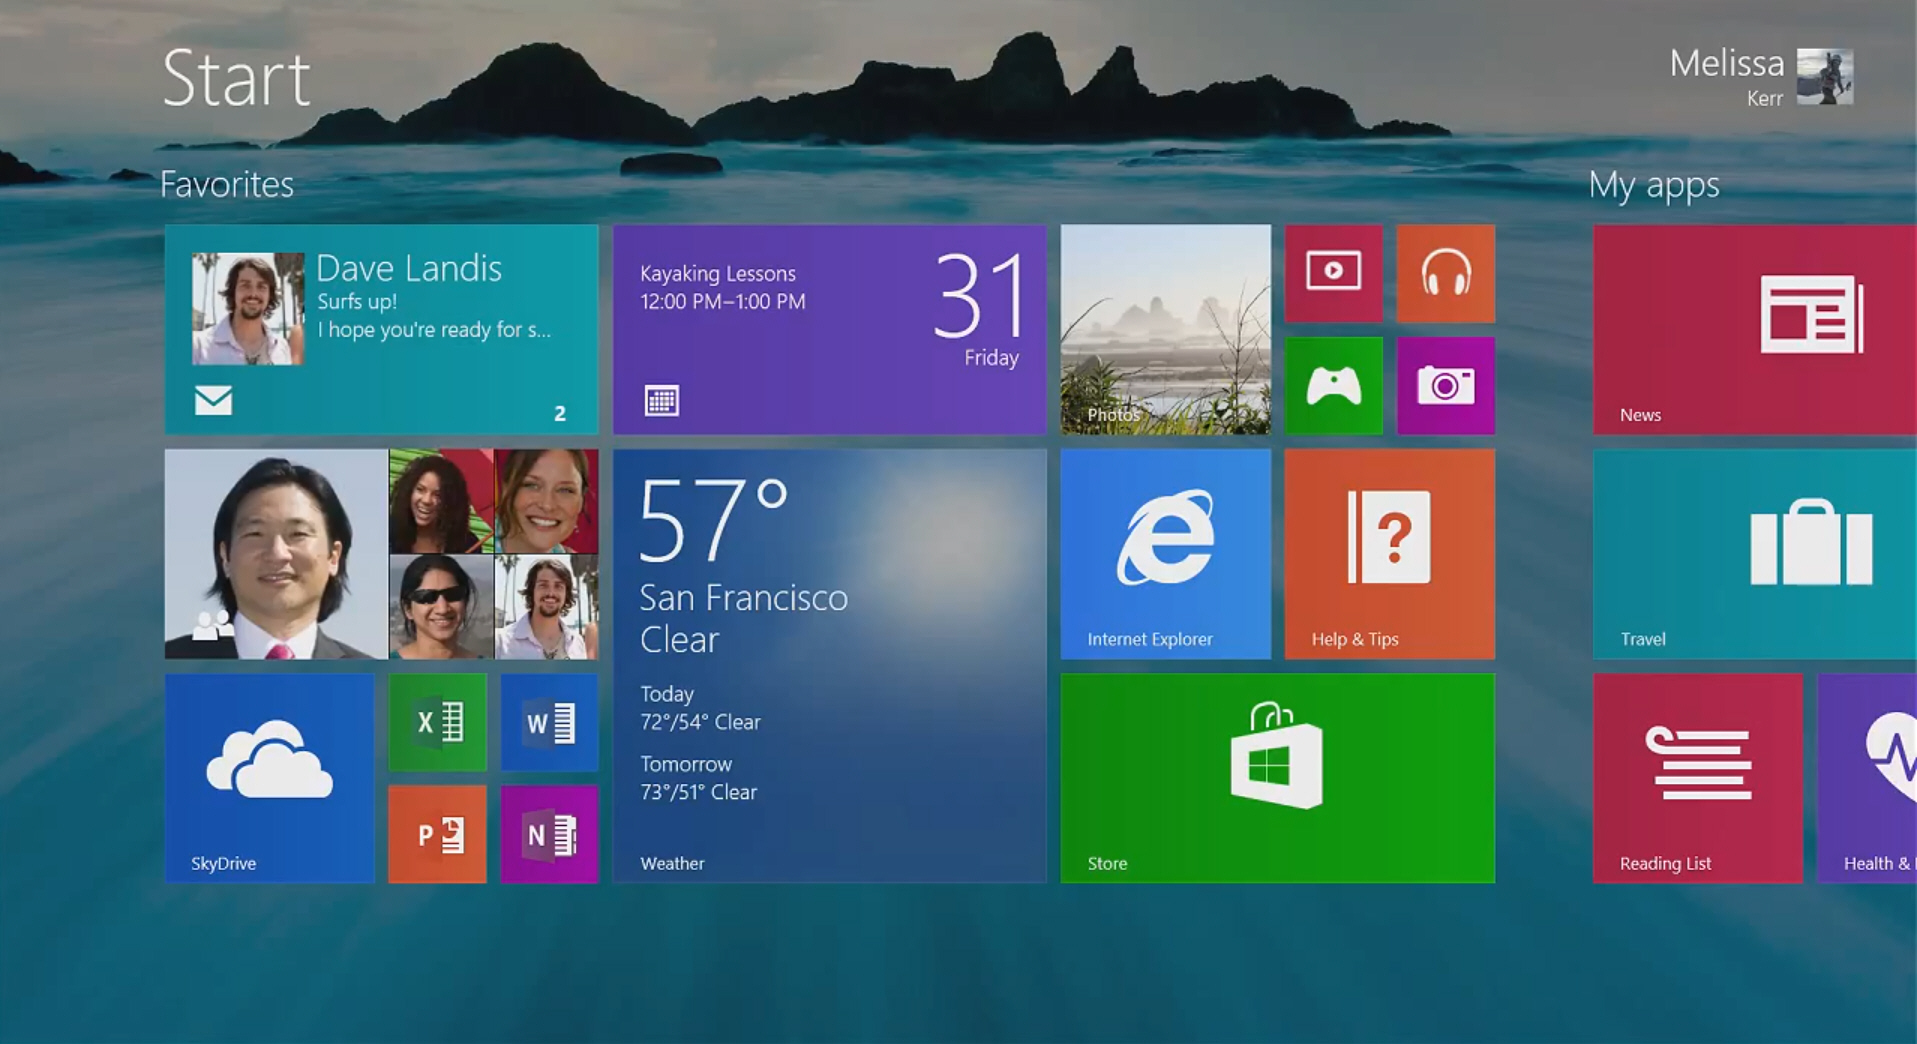
On this post, we will cover about the difference between most used platform nowadays, Windows 8. Microsoft has released the windows 8.1 upgrade for windows 8. So, people were wondering what is the difference between the difference of windows release. Let us see the difference between Basic Edition, Pro and Enterprise.


With Windows 8.1 releasing to the masses it's important to get a handle on the functions the different "versions" of Windows 8.1 are intended to serve and the differences in features.
Windows 8.1 comes in three different versions: Basic Edition, Pro, and Enterprise.
  • Basic Edition – Windows 8.1 Basic Edition (or just Windows 8.1) is intended for home users. This version includes the core features, but none of the business features. Basic Edition is great for those general consumers (mother, grandmother, father, step-uncle, far removed cousin).
  • Pro – Windows 8.1 Pro is the operating system intended for small and medium-sized businesses. It provides abilities such as joining corporate domains, participating in Group Policy, allowing involvement in Work Place Join and Work Folders, encryption and more. You can find a good list of business features in the The IT Guide to Windows 8.1. Note that some of the new business features in Windows 8.1 Pro require a server running Windows Server 2012 R2 somewhere in the organization.
  • Enterprise – Windows 8.1 Enterprise is the version that brings business premium features to Windows. Available through Windows Software Assurance, Windows 8.1 Enterprise includes all of the same features of Windows 8.1 Pro and then adds things like Windows To Go, DirectAccess, BranchCache, AppLocker, Virtual Desktop Infrastructure (VDI), and Windows 8 app deployment.

Posted By Unknown00:41

8 Free Wi-Fi Security Tools

Filled under: ,

On this post, we will cover tools about Wi-Fi security. These tools are free and can be used by everyone.

1. Netstumbler
NetStumbler is one of the oldest and most known Wi-Fi stumblers and runs on Windows and Windows CE/Mobile. It lists nearby APs and displays their basic details: SSID, channel, speed, MAC address, vendor, and encryption. Unlike most other stumblers, it also shows the signal, noise, and signal-to-noise ratio (SNR) levels.  Additionally, it has GPS support to record AP locations when wardriving.

Keep in mind, NetStumbler hasn’t been updated since 2004. It may not run well on Windows Vista or 7, or even 64-bit Windows XP. Additionally, it doesn’t show the real encryption methods of APs. If an AP has encryption enabled it’s always marked as WEP, regardless if it’s WEP, WPA, or WPA2.


NetStumbler can be useful when doing basic signal reading or wardriving, but the limitations I mentioned prevent it from being a go-to tool for other situations, such as when doing a security audit to look for misconfigured or rogue APs.

2. Vistumbler
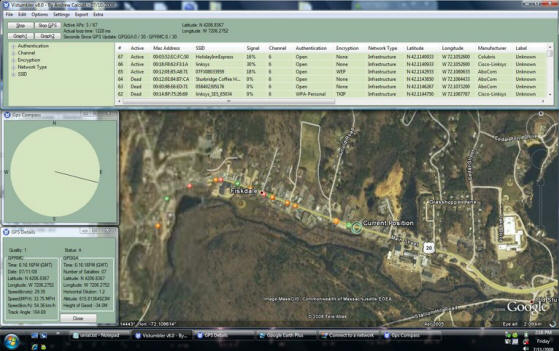
Vistumbler is a newer open source stumbler first released in 2007 and updated as lately as 2010. It displays the basic AP details, including the exact authentication and encryption methods, and can even speak the SSID and RSSI of APs.
Similar to NetStumbler, you can view a list of all APs or drill down to those categorized by authentication, encryption, channel, network type, and SSID. You can also view graphs of the AP signals in addition to viewing text readouts. It’s highly customizable and offers flexible configuration options. For example, you can define and save AP names to better distinguish them in the future. In addition to basic GPS support to record AP locations, it supports live tracking within the application using Google Earth.


However unlike NetStumbler, Vistumbler only gives you the signal levels and doesn’t include the noise levels. Thus it doesn’t report the signal-noise-ratio (SNR) values, which is usually more helpful than just the plain signal levels.

3. inSSIDer
InSSIDer is a relatively new open source Wi-Fi stumbler developed by MetaGeek, the maker of the Wi-Spy spectrum analyzer. It shows the usual list of AP details, but doesn’t show the exact authentication method. You can see the encryption method used but can’t distinguish, for example, between WPA-PSK and WPA-Enterprise networks. Like most other stumblers, inSSIDer doesn’t include the noise or signal-to-noise (SNR) values; just gives you the RSSI values.

However, it features very intuitive graphs. The time graph shows the signal levels (in dB values) of each AP for the past 5 minutes. Then there’s a graph for each 2.4GHz and 5GHz channel, showing the current signal levels and channel width usage of each AP. Another useful feature: the filters enable you to filter out APs based upon the AP’s band, channel, signal, security, and age status—great if you have a large amount of APs to deal with. It also features GPS support and lets you export to Google Earth.

4.NetSurveyor
NetSurveyor is a free but closed source Wi-Fi stumbler and basic analyzer developed by Nuts About Nets, last updated in 2009. It displays the basic AP details, but doesn’t specify the exact authentication or encryption method. It just indicates Yes or No for encryption. Additionally, it doesn’t offer any customization, such as saving AP names.

Though NetSurveyor doesn’t report noise levels, it does offer more graphs than most other free stumblers, including AP Timecourse, AP Differential, Channel Usage, Channel Timecourse, Channel Heatmap, and Channel Spectrogram.
It can also record data for extended periods and played-back in the future. You can also create useful reports in Adobe PDF format, which includes a snapshot of the AP details and all the graphs.


NetSurveyor is a subset of what the company offers in its paid product, NetSurveyor Professional, which runs for $34.95 after a 10-time-use free trial. NetSurveyor Pro adds the ability to view and record actual performance stats of APs you’re connected to instead of using just its broadcast beacons. They even offer more tools, such as a spectrum analyzer, for $395.

5. Kismet
Kismet is a free and open Wi-Fi stumbler, packet sniffer, and intrusion detection system for Windows, Mac OS X, Linux, and BSD. It shows the AP details, including the SSID of “hidden” networks. Plus it reports the noise levels and gives you the signal-to-noise (SNR) values. It can also capture the raw wireless packets to a PCAP file, so you can import into Wireshark, TCPdump, and other tools.


Kismet, however, in Windows only works with CACE AirPcap wireless adapters due to the limitation of Windows drivers. It does, however, support a variety of wireless adapters in Mac OS X and Linux.

6. Xirrus Wi-Fi Inspector
Xirrus Wi-Fi Inspector is a free but closed source Wi-Fi stumbler and basic analyzer. Along with displaying all the usual AP details, it shows a radar view and 8-mintue signal history graph. It also displays the signal and address info for any current connections. Additionally, it offers a simple tool to test connectivity of the main network components, and shortcuts to web-based speed and connection quality tests. Its export feature lets you save a snapshot of the AP details to a CSV file.


Though it doesn’t let you save AP names, it lets you customize some settings, such as the signal unit type (dBm or percentage), RSSI method, and polling interval.

7. Meraki WiFi Stumbler
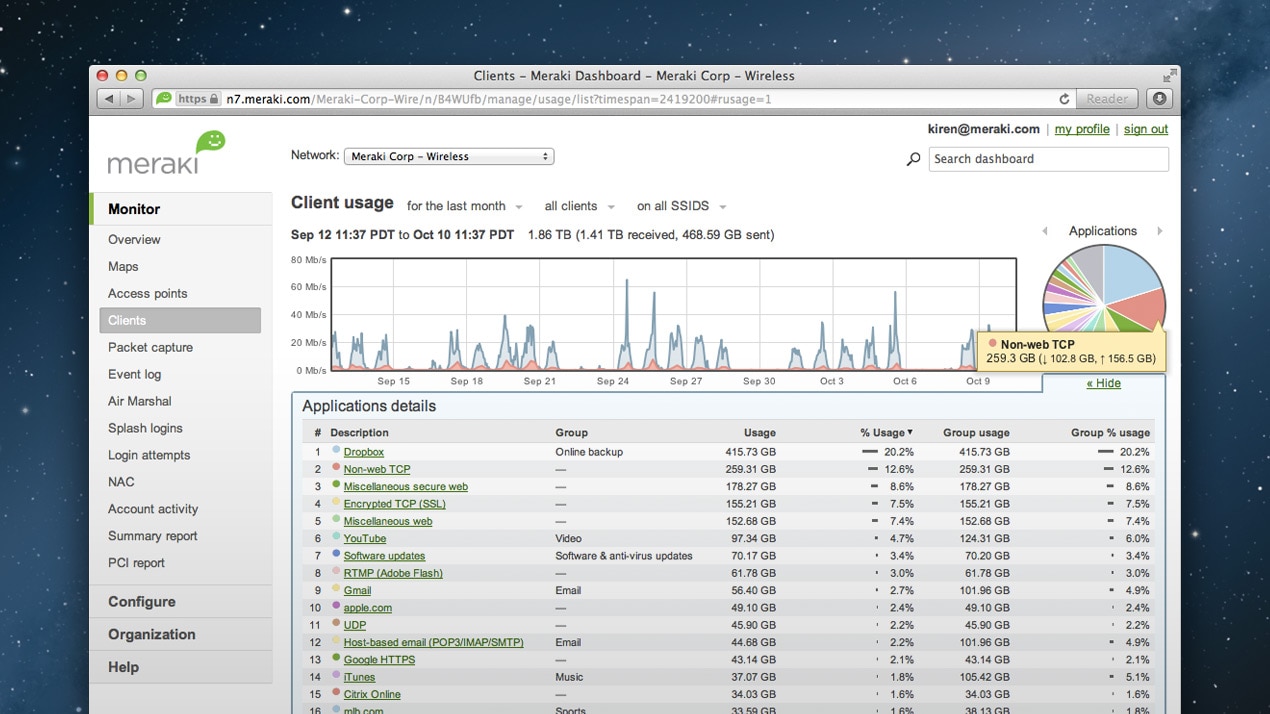
This is a simple web-based stumbler, freely available on the Meraki website. It runs in most browsers on Macs and PCs, and even works when offline. It displays most of the basic wireless details (with signal levels in percentages) and offers a bar graph of APs per channel.

It doesn’t allow any customization and doesn’t offer any additional functionality beyond displaying the network basics and letting you perform searches of the data. However, this stumbler is still useful if you want to check wireless signals from a computer that doesn’t already have a stumbler installed.

8. KisMAC
If you’re a Mac user, you might consider using the KisMAC stumbler and security tool, similar to Kismet. It also reveals “hidden” SSIDs. Along with the other basic details, it can show the AP’s clients (with MAC Addresses, IP addresses and signal strengths). Plus it reports the noise levels and gives you the signal-to-noise (SNR) values. It also supports GPS and mapping, and PCAP import and export. It even includes tools to attack Wi-Fi networks for penetration testing.


That is it. Hope you can get benefits from thi post. look forward for the next post.

Posted By Unknown00:29

8 ways to improve wired network security

Filled under: ,

As we know, networking is a crucial things in our modern IT life. In our first post for this new blog, we will cover several ways to improve wired network securities. This is for one who use wired type of networking.

1. Perform auditing and mapping

If you haven't recently, you should do some auditing and mapping of your network. Always have a clear understanding of the entire network's infrastructure, for instance the vendor/model, location, and basic configuration of firewalls, routers, switches, Ethernet cabling and ports, and wireless access points. Plus know exactly what servers, computers, printers, and any other devices are connected, where they are connected, and their connectivity path throughout the network.
During your auditing and mapping you might find specific security vulnerabilities or ways in which you could increase security, performance and reliability. Maybe you'll run across an incorrectly configured firewall or maybe physical security threats.
If you're working with a small network with just a few network components and a dozen or less workstations you might just manually perform the audit and create a visual map on a sheet of a paper. For larger networks you might find auditing and mapping programs useful. They can scan the network and start to produce a network map or diagram.

2. Keep the network up-to-date

Once you have a basic network audit and map complete, consider diving deeper. Check for firmware or software updates on all network infrastructure components. Login to the components to ensure default passwords have been changed, review the settings for any insecure configuration, and look into any other security features or functionality you currently aren't using. Next take a look at all the computers and devices connected to the network. Ensure the basics are taken care of, such as OS and driver updates, personal firewall are active, the antivirus is running and updated, and passwords are set.

3. Physically secure the network

Although often overlooked or minimized, the physical security of the network can be just as crucial as say your Internet facing firewall. Just as you need to protect against hackers, bots and viruses, you need to protect against local threats, too.
Without strong physical security of your building and network, a nearby hacker or even an employee could take advantage of it. For instance, maybe they plug a wireless router into an open Ethernet port, giving them and anyone else nearby wireless access to your network. But if that Ethernet port wasn't visible or at least disconnected, then that wouldn't have happened. 
Ensure you have a good building security plan in place to try and prevent outsiders from entering. Then ensure all wiring closets and/or other places where the network infrastructure components are placed have been physically secured from both the public and employees. Use door and cabinet locks. Verify that Ethernet cabling is run out of sight and isn't easily accessible; the same with wireless access points. Disconnect unused Ethernet ports, physically or via switch/router configuration, especially those in the public areas of the building.

4. Consider MAC address filtering

One major security issue of the wired side of network is the lack of a quick and easy authentication and/or encryption method; people can just plug in and use the network. On the wireless side you have at least WPA2-Personal (PSK) that's easy to deploy.
Although MAC address filtering can be bypassed by a determined hacker, it can serve as the first layer of security. It won't completely stop a hacker, but it can help you prevent an employee, for instance, from causing a potentially serious security hole, like allowing a guest to plug into the private network. It can also give you more control over which devices are on the network. But don't let it give you a false sense of security, and be prepared to keep the approved MAC address list up-to-date.

5. Implement VLANs to segregate traffic

If you're working with a smaller network that hasn't yet been segmented into virtual LANs, consider making the change. You can utilize VLANs to group Ethernet ports, wireless access points, and users among multiple virtual networks.
Perhaps use VLANs to separate the network by traffic type (general access, VoIP, SAN, DMZ) for performance or design reasons and/or user type (employees, management, guests) for security reasons. VLANs are especially useful when configured for dynamic assignment. For instance, you could plug in your laptop anywhere on the network or via Wi-Fi and automatically be put onto your assigned VLAN. This can be achieved via MAC address tagging or a more secure option would be to use 802.1X authentication.
To use VLANs, your router and switches must support it: look for the IEEE 802.1Q support in the product specs. And for wireless access points, you'll likely want those that support both VLAN tagging and multiple SSIDs. With multiple SSIDs you have the ability to offer multiple virtual WLANs that can be assigned to a certain VLAN.

6. Use 802.1X for authentication

Authentication and encryption on the wired side of the network are often ignored due to the complexity involved. It's IT common sense to encrypt wireless connections, but don't forget or ignore the wired side. A local hacker could possibly plug into your network with nothing stopping them from sending or receiving.
Though deploying 802.1X authentication wouldn't encrypt the Ethernet traffic, it would at least stop them from sending on the network or accessing any resources until they've provided login credentials. And you can utilize the authentication on the wireless side as well, to implement enterprise-level WPA2 security with AES encryption, which has many benefits over using the personal-level (PSK) of WPA2.
Another great benefit of 802.1X authentication is the ability to dynamically assign users to VLANs.

7. Use VPNs to encrypt select PCs or servers

If you're really looking to secure network traffic, consider using encryption. Remember even with VLANs and 802.1X authentication, someone can eavesdrop on the network (VLAN) to capture unencrypted traffic that could include passwords, emails and documents.
Although you can encrypt all the traffic, first analyze your network. It might make more sense to just encrypt select communications you deem the most sensitive that isn't already encrypted, such as through SSL/HTTPS. You can pass the sensitive traffic through a standard VPN on the client, which could be used just during the sensitive communication or forced to be used all the time.

8. Encrypt the entire network

You can also encrypt an entire network. One option is IPsec. A Windows Server can serve as the IPsec server and the client capability is natively supported by Windows as well. However, the encryption process can be quite an overhead burden on the network; effective throughput rates can drop dramatically. There are also proprietary network encryption solutions out there from networking vendors, many of which use a Layer 2 approach instead of Layer 3 like IPsec to help with reducing latency and overhead.

So that's about it. Hope you all can take benefits from this post.
Posted By Unknown00:05